Impaling Clips for Acoustic Panels
Impaling clips are a popular and effective way to install acoustic panels on walls or ceilings. These clips are designed to penetrate the panel material and securely attach it to the underlying structure, providing a stable and durable installation.
Get Our acoustic panel impaling clipsto delight your customers
Experience a superior installation experience with our high-quality impaling clips. These clips are designed to provide a secure and long-lasting connection between your acoustic panels and the underlying structure, ensuring a stable and reliable installation.
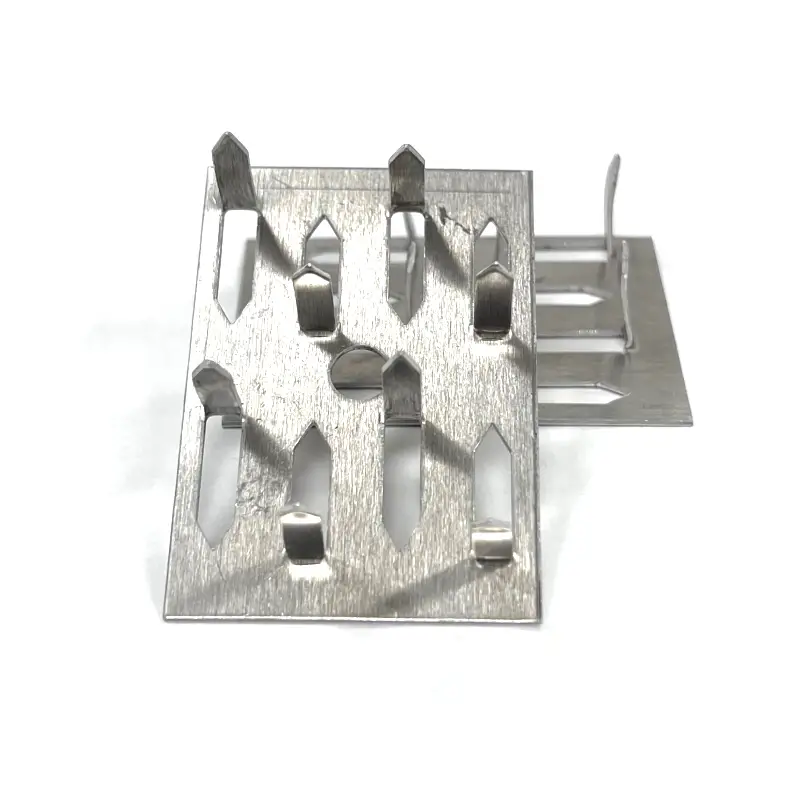
Acoustic Panel Impaling Clips
Experience a seamless and secure installation with our high-quality impaling clips. These clips are designed to provide a strong and reliable connection between your acoustic panels and the underlying structure, ensuring a stable and durable installation. Our impaling clips are easy to use, versatile, and often designed to be concealed behind the panels for a clean finish. Enhance your acoustic environment today with our premium installation solution.
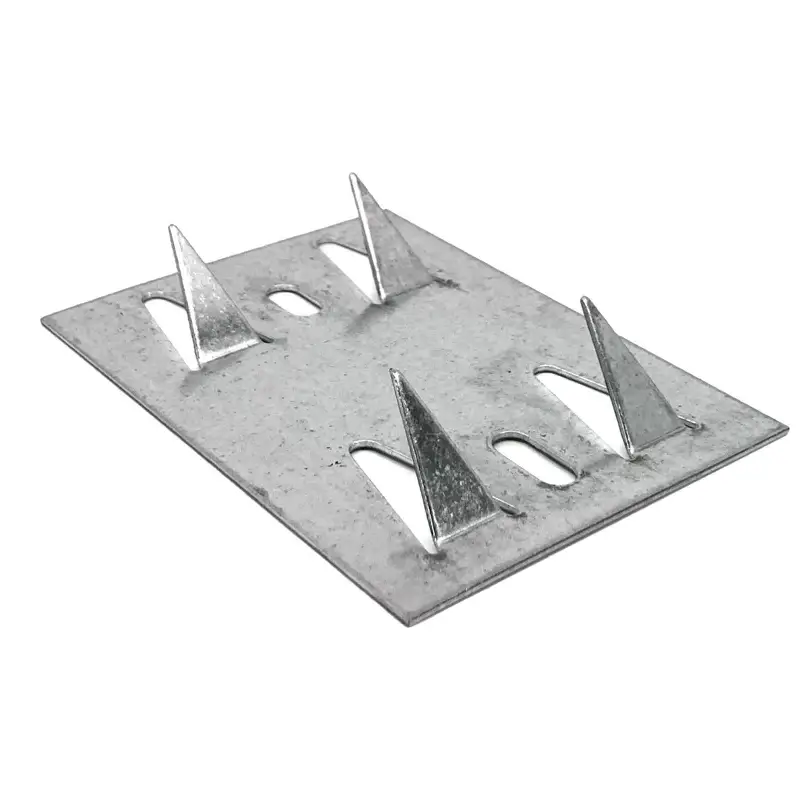
corner mount Acoustic Panel Impaling Clips
Our corner mount impaling clips offer a convenient and secure way to install acoustic panels in corners. These clips are designed to penetrate the panel material and attach it firmly to the corner of your wall or ceiling, providing a stable and discreet installation. Perfect for maximizing sound absorption in challenging areas, our corner mount clips are easy to use and offer a reliable solution for your acoustic needs.
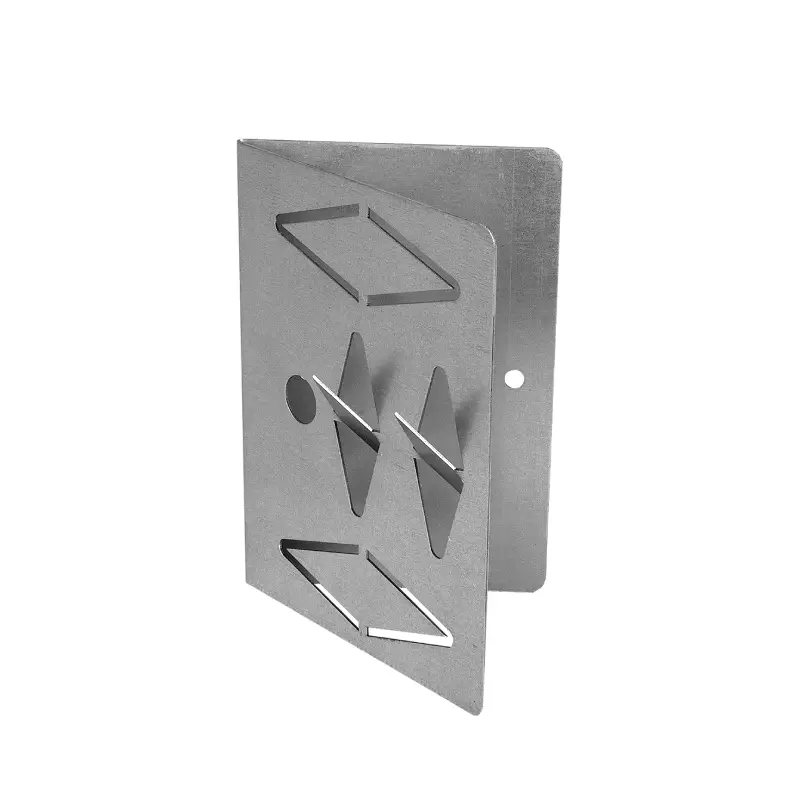
corner trap Acoustic Panel Impaling Clips
Corner trap acoustic panel impaling clips are specifically designed to address the challenges of sound absorption in corners, where sound waves tend to accumulate and create echoes. These clips are designed to securely attach acoustic panels to the corner of a room, effectively trapping and absorbing sound waves to improve overall acoustics.
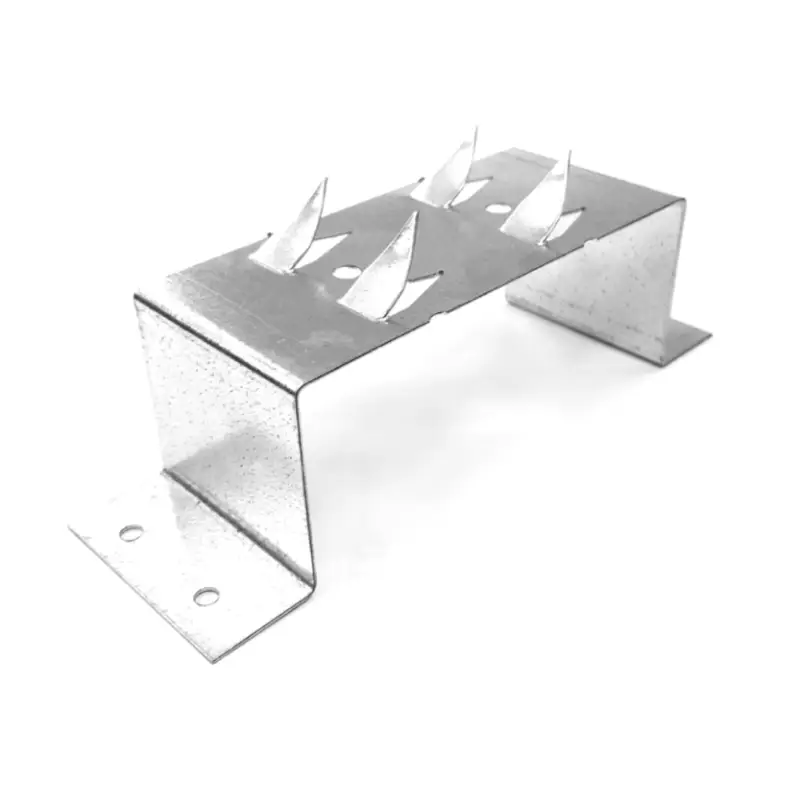
stand off Acoustic Panel Impaling Clips
Standoff acoustic panel impaling clips are a popular choice for installing acoustic panels with a modern and minimalist aesthetic. These clips create a standoff effect, allowing the panels to be mounted slightly away from the wall or ceiling, creating a visually interesting and acoustically effective installation.
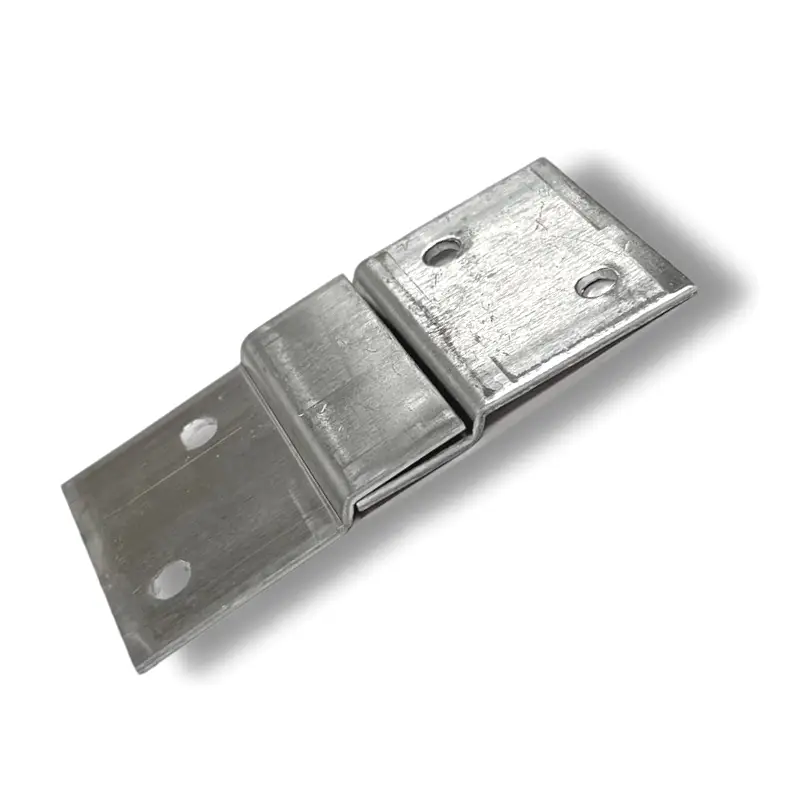
z clips for acoustic panels
Z clips are a popular and effective way to install acoustic panels on walls or ceilings. These clips are designed with a Z-shaped configuration, which allows them to securely attach the panel to the underlying structure without causing damage to the wall or ceiling material.
acoustic panel Impaling clip installation
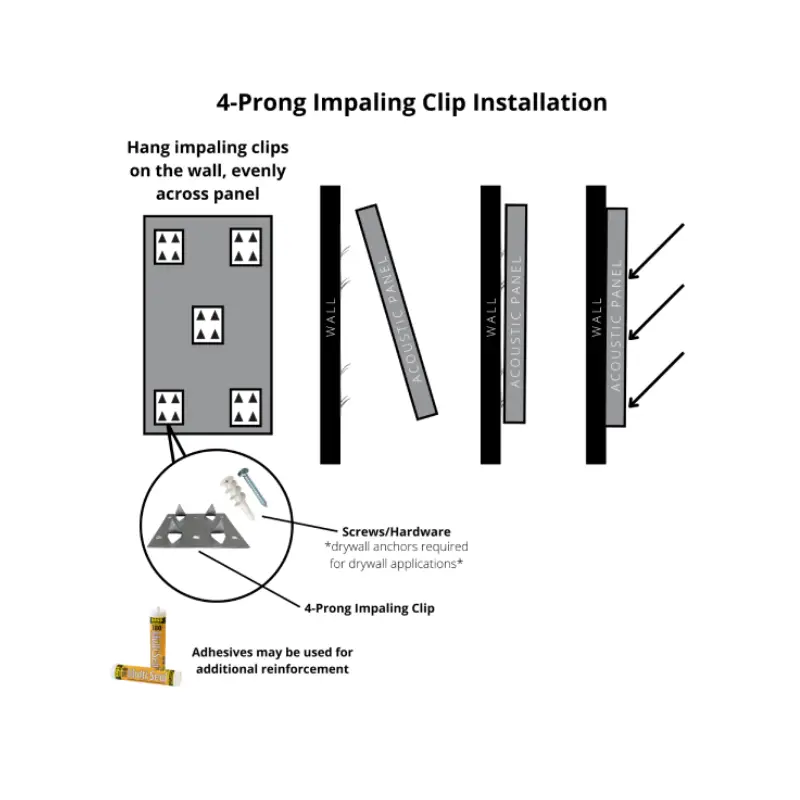
The installation process for 4-prong impaling clips used to attach acoustic panels to walls or ceilings.
- Hang impaling clips on the wall: Evenly distribute the clips across the wall area where you plan to install the acoustic panels.
- Secure the clips: Use screws or hardware to attach the clips firmly to the wall. Drywall anchors may be required for drywall applications.
- Attach the acoustic panels: Carefully press the panels onto the impaling clips, ensuring they are securely fastened.
- Optional: Use adhesives: For additional reinforcement, you can apply adhesives to the back of the acoustic panels before attaching them to the clips.
FAQs about impaling clips for acoustic panels
what are impaling clips for acoustic panels?
Impaling clips are specialized fasteners designed to securely attach acoustic panels to walls or ceilings. They are typically made of metal and feature sharp prongs that penetrate the back of the acoustic panel and grip the underlying structure.
Key features of impaling clips:
- Secure attachment: Provide a strong and reliable connection between the panel and the wall or ceiling.
- Easy installation: Often require no special tools or skills to install.
- Versatile: Compatible with a variety of acoustic panel materials.
- Hidden installation: Can often be concealed behind the panels for a clean and finished look.
- Reusable: Can be reused if you need to remove or reposition the panels.
Impaling clips are a popular choice for installing acoustic panels because they offer a simple, secure, and often hidden method of attachment.
How do you use impaling clips for acoustic panels?
Here’s a step-by-step guide on how to use impaling clips for acoustic panels:
- Prepare the wall or ceiling: Ensure the surface is clean and free of any obstructions. If necessary, use drywall anchors to secure the clips to the wall.
- Mark the locations: Decide on the desired spacing for your acoustic panels and mark the corresponding locations on the wall or ceiling.
- Attach the impaling clips: Press the impaling clips firmly into the marked locations. For added security, you can use screws or adhesives to fasten the clips to the wall.
- Install the acoustic panels: Carefully press the acoustic panels onto the impaling clips, ensuring they are securely attached.
- Check for stability: Gently test the panels to ensure they are firmly in place. If needed, you can adjust the clips or add additional fasteners.
Remember: Always follow the specific instructions provided with your impaling clips and acoustic panels. If you are unsure about the installation process, it’s recommended to consult with a professional.
How do you install acoustic panels without damaging walls?
Here are some methods to install acoustic panels without damaging your walls:
1. Adhesive:
- Water-based adhesives: These are generally safe for walls and can be easily removed if necessary.
- Construction adhesive: A stronger option, but it’s important to choose one that is suitable for the wall material and panel type.
- Spray adhesive: A quick and easy method, but it can be messy if not applied carefully.
2. Impaling Clips:
- Secure and non-destructive: Impaling clips penetrate the panel material and attach to the wall without causing damage.
- Easy to install: They can be installed quickly and easily, and they are often reusable.
3. Magnetic Hangers:
- Non-destructive: Magnetic hangers are a great option for temporary or removable installations.
- Versatile: They can be used on various surfaces, including drywall, wood, and metal.
4. Velcro Strips:
- Non-destructive and removable: Velcro strips offer a simple and reversible way to attach acoustic panels.
- Versatile: They can be used on a variety of surfaces, but they may not be as strong as other methods.
5. Standoff Hangers:
- Create a gap: Standoff hangers create a small gap between the panel and the wall, which can help to improve acoustics.
- Non-destructive: They can be installed without damaging the wall.
When choosing an installation method, consider factors such as the panel material, wall type, and your desired level of permanence.
