Are you tired of unwanted noise echoing in your room? Acoustic foam is a simple and effective solution to improve sound quality and reduce noise pollution. In this blog post, we’ll guide you through the process of sticking acoustic foam on your wall, ensuring a professional and noise-free environment.
Whether you’re a musician, podcaster, or simply want a quieter home, this step-by-step tutorial will equip you with the knowledge and confidence to achieve optimal sound absorption.
Let’s get started!
What Is Acoustic Foam?

Acoustic foam is a porous material specifically designed to absorb sound waves. It’s commonly used in various settings, including:
- Recording studios: To minimize unwanted reflections and improve sound quality.
- Home theaters: To enhance audio clarity and reduce noise.
- Music rehearsal spaces: To control sound levels and prevent noise from disturbing neighbors.
- Offices: To improve speech intelligibility and reduce distractions.
Acoustic foam works by trapping sound waves within its porous structure. As the sound waves pass through the foam, they are absorbed and converted into heat energy, effectively reducing noise levels.
Why Use Acoustic Foam?
There are several compelling reasons to consider using acoustic foam:
- Improved Sound Quality: Acoustic foam can significantly enhance sound quality by reducing unwanted echoes and reflections. This is particularly beneficial for those involved in music, recording, or home theater setups.
- Noise Reduction: By absorbing sound waves, acoustic foam can effectively reduce noise levels, creating a quieter and more peaceful environment. This is ideal for home offices, bedrooms, or any space where noise is a concern.
- Enhanced Privacy: Acoustic foam can help to prevent sound from escaping your room, protecting your privacy and avoiding disturbances to others.
- Versatility: Acoustic foam comes in various shapes, sizes, and colors, making it adaptable to different interior styles and needs. It can be used to create a visually appealing and functional space.
Whether you’re looking to improve sound quality, reduce noise, or enhance privacy, acoustic foam offers a practical and effective solution.
How to Stick Acoustic Foam on Wall?
Here’s a step-by-step guide on how to stick acoustic foam on your wall:
Materials You’ll Need:
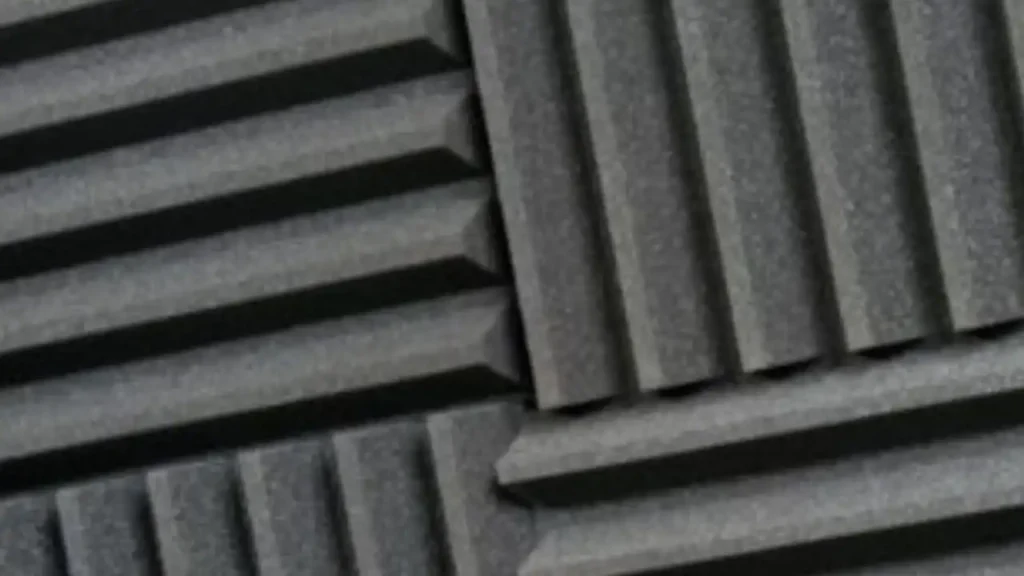
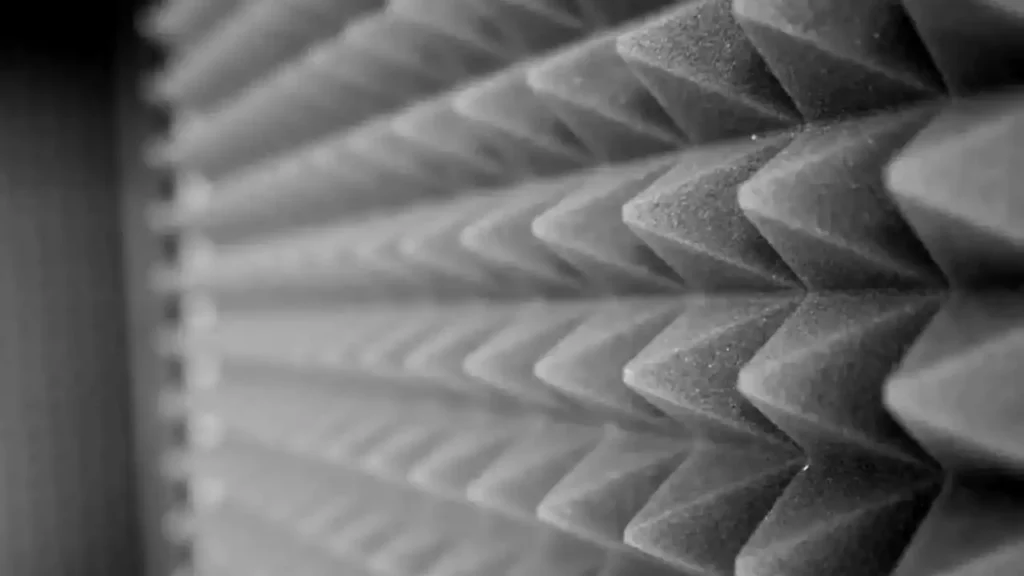
- Acoustic foam: Choose the desired thickness and type of foam (e.g., wedge, pyramid, egg crate).
- Adhesive: Self-adhesive foam, spray adhesive, or double-sided tape.
- Utility knife (optional): For trimming foam to size.
- Level: To ensure even placement.
- Pencil: For marking measurements.
- Scissors (optional): For cutting smaller pieces of foam.
Steps:
- Plan Your Layout: Measure the wall space where you intend to apply the foam. Divide the area into sections and plan the arrangement of the foam panels to create a visually appealing and balanced design.
- Clean the Wall: Ensure the wall surface is clean, dry, and free from any debris that could interfere with the adhesive.
- Cut Foam to Size (If Necessary): If your foam panels are larger than the desired areas, use a utility knife or scissors to trim them to size.
- Apply Adhesive:
- Self-adhesive foam: Peel off the protective backing and carefully position the foam on the wall, pressing firmly to ensure good adhesion.
- Spray adhesive: Apply a thin, even coat of spray adhesive to the back of the foam and the designated wall area. Allow the adhesive to set for a few seconds before applying the foam.
- Double-sided tape: Cut strips of double-sided tape to match the size of the foam panels. Apply the tape to the back of the foam and then position it on the wall.
- Position and Smooth: Carefully position the foam panels on the wall, ensuring they are level and aligned with each other. Press firmly to remove any air bubbles and ensure a secure bond.
- Trim Excess (If Needed): If any foam edges overhang, carefully trim them with a utility knife to create a clean finish.
- Inspect and Adjust: Step back and inspect the overall appearance and alignment of the foam panels. Make any necessary adjustments to ensure a professional finish.
Additional Tips:
- Consider the environment: Acoustic foam is sensitive to temperature and humidity fluctuations. Avoid placing it in areas with extreme conditions.
- For larger installations: It may be helpful to use a ladder or stepstool to reach higher areas and ensure accurate placement.
- Safety precautions: Wear gloves and eye protection when handling adhesives and cutting tools.
- Allow for curing: Depending on the adhesive used, it may take some time for the foam to fully cure and bond to the wall. Avoid touching or moving the foam during this period.
Related: How to Install Acoustic Panels? Full Guide to Acousitc Panel Installation
How to Stick Acoustic Foam to Ceiling
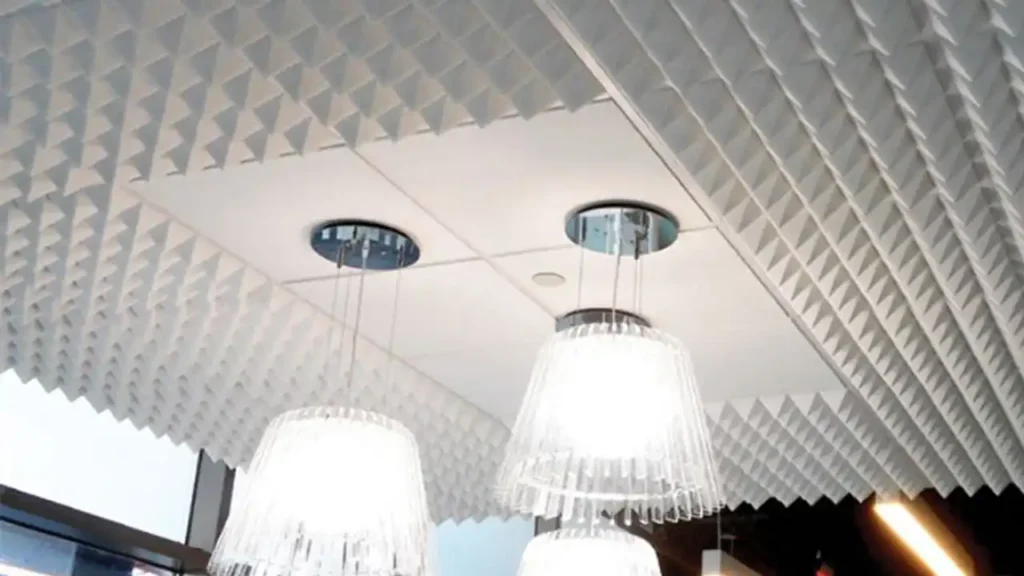
Sticking acoustic foam to your ceiling can be a great way to improve sound quality and reduce noise levels in your room. However, it requires a bit more care and planning than sticking it to walls. Here’s a step-by-step guide to help you achieve a successful installation:
Materials You’ll Need:
- Acoustic foam: Choose the desired thickness and type (e.g., wedge, pyramid, egg crate).
- Construction adhesive: A strong, water-based adhesive specifically designed for ceiling applications.
- Putty knife or flat trowel: For applying the adhesive.
- Level: To ensure even placement.
- Measuring tape: For accurate measurements.
- Pencil: For marking.
- Safety glasses: To protect your eyes.
Steps to stick acoustic foam to ceiling:
- Prepare the Ceiling: Ensure the ceiling is clean, dry, and free of any loose paint or debris. If there are any cracks or imperfections, repair them before proceeding.
- Plan Your Layout: Measure the ceiling space and decide on the arrangement of the foam panels. Consider factors like room size, sound source location, and desired aesthetic.
- Apply Adhesive:
- Use a putty knife or trowel to apply a thin, even layer of construction adhesive to the back of each acoustic foam panel.
- Avoid applying too much adhesive, as it can drip and cause a mess.
- Position the Foam:
- Use a level to ensure the first panel is positioned correctly.
- Press the panel firmly against the ceiling to secure it.
- Continue applying the remaining panels following the same procedure, ensuring they are aligned and level.
- Allow to Dry:
- Let the adhesive dry completely before touching or adding more panels. The drying time will depend on the adhesive and environmental factors.
- Inspect and Adjust:
- Once dry, inspect the installation for any uneven areas or gaps.
- Make any necessary adjustments by applying additional adhesive or repositioning panels.
Additional Tips:
- Consider using a helper: Installing acoustic foam on the ceiling can be physically demanding. Having someone to assist you can make the process easier.
- Wear safety glasses: Construction adhesive can be irritating to the eyes. Protect yourself by wearing safety glasses during the installation process.
- For larger areas: Break down the installation into smaller sections to make it more manageable.
- If you’re unsure about the process, consult with a professional installer or contractor.
By following these steps and taking the necessary precautions, you can successfully stick acoustic foam to your ceiling and improve the acoustics of your room.
Conclusion
By following the step-by-step guide provided in this blog post, you can effectively stick acoustic foam on your wall and transform your space into a quieter, more enjoyable environment. Acoustic foam is a versatile and affordable solution for improving sound quality, reducing noise, and enhancing privacy.
Ready to take your acoustic treatment to the next level?
Our acoustic panel manufacturer offers premium acoustic foam products designed to deliver exceptional performance and durability. Contact us today to learn more about our wide range of options and find the perfect solution for your specific needs.
Invest in acoustic foam and experience the difference.