Acoustic Panel Trim
Tired of noise pollution disrupting your peace? Our acoustic panel trim offers a stylish and effective solution to reduce unwanted sound in your home, office, or studio.
Get Our Acoustic Panel Trim to delight your customers
Ready to transform your space? Contact us today to explore our range of acoustic panel trim options and discover how they can elevate your business and delight your customers.

acoustic panel Trim
Acoustic panel trim offers a practical and aesthetically pleasing way to reduce unwanted noise in various settings. These panels are designed to absorb sound waves, helping to improve sound quality, reduce echo, and create a more comfortable and enjoyable environment.
- Sound Absorption Coefficient: The higher the coefficient, the more effective the panel at absorbing sound.
- Aesthetic Preferences: Choose a style and color that complements your interior design.
- Installation Method: Determine if you need panels that can be easily removed or if a permanent installation is suitable.
- Budget: Acoustic panel trim can vary in price depending on materials, size, and brand.
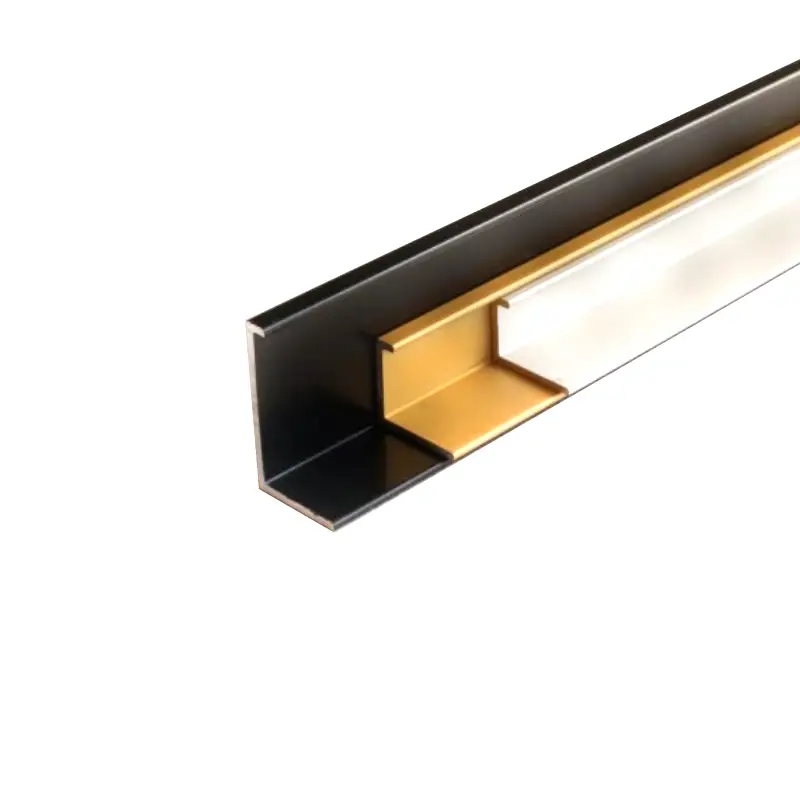
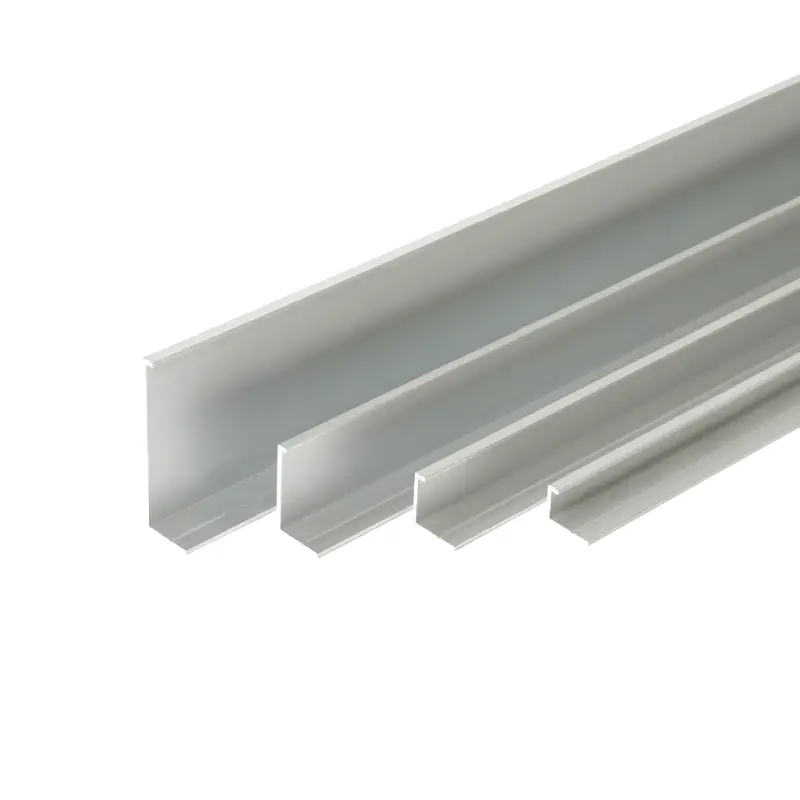
Aluminum Edge Trim Acoustic Panel
Aluminum edge trim acoustic panels combine the sound-absorbing properties of traditional acoustic panels with a sleek and durable aluminum frame. This combination offers a versatile and aesthetically pleasing solution for noise reduction in various settings.
- Durability: The aluminum frame provides a strong and long-lasting structure, making these panels suitable for high-traffic areas.
- Aesthetics: The clean lines and modern design of the aluminum trim complement a variety of interior styles.
- Sound Absorption: The acoustic material within the panel effectively absorbs sound waves, reducing noise levels and improving sound quality.
- Customization: Available in various sizes, colors, and finishes to meet specific design requirements.


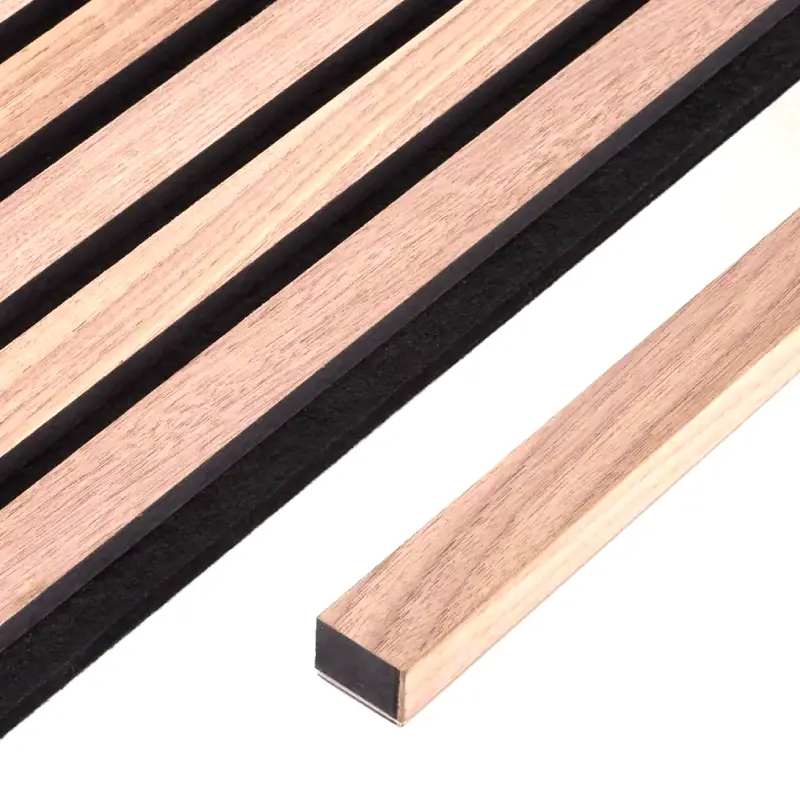
ceiling acoustic panels with wood trim
Ceiling acoustic panels with wood trim offer a combination of sound absorption and aesthetic appeal for various indoor spaces. These panels are typically constructed with a sound-absorbing core material, such as fiberglass or mineral wool, and framed with a wooden trim.
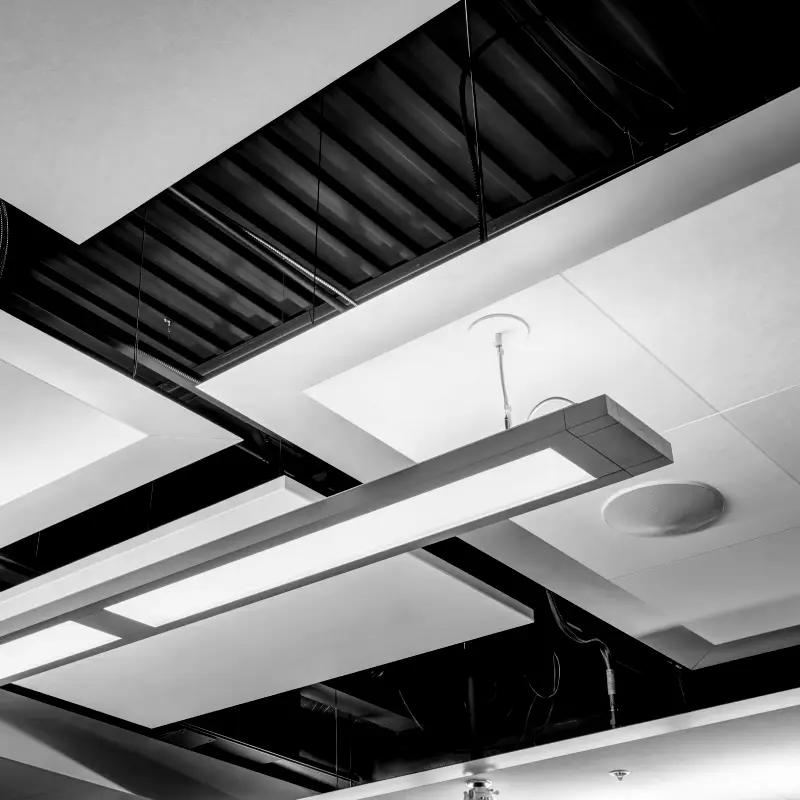
Suspended ceiling Edge Trim
Suspended ceiling edge trim is a decorative element that adds a polished finish to the edges of suspended ceiling panels. It helps to create a clean and cohesive appearance while also protecting the edges of the panels from damage.
- Metal Trim: Often made of aluminum or steel, metal trim offers durability and a modern aesthetic. It’s available in various finishes, such as brushed, polished, or anodized.
- Wood Trim: Wooden trim provides a natural and warm look. It can be stained or painted to match your interior design.
- PVC Trim: PVC trim is a cost-effective option that offers good durability and is available in a wide range of colors.

FAQs about Acoustic Panel Trim
What Is Acoustic Panel Trim?
Acoustic panel trim is a decorative element that surrounds acoustic panels. It serves both aesthetic and functional purposes:
Aesthetically:
- Enhances appearance: It provides a finished look to acoustic panels, making them more visually appealing.
- Complements interior design: Trim can be chosen in various styles, colors, and materials to match or contrast with the overall décor.
Functionally:
- Protects edges: Trim protects the edges of acoustic panels from damage and wear and tear.
- Provides a clean finish: It creates a neat and polished edge around the panels.
- Hides installation hardware: Trim can conceal the fasteners or clips used to secure the panels to the ceiling or walls.
Acoustic panel trim is typically made of materials such as wood, metal, or plastic. The choice of material depends on factors like the desired aesthetic, durability requirements, and budget.
what size is the trim around a acoustic ceiling panel?
The size of the trim around an acoustic ceiling panel can vary depending on several factors:
- Panel Size: Larger panels will typically require wider trim to create a visually balanced appearance.
- Trim Style: Some trim styles, such as thicker or more ornate ones, may require larger dimensions.
- Installation Method: The method used to install the panels and trim can influence the required size. For example, if the panels are suspended from a grid system, the trim may need to be slightly larger to accommodate the grid.
- Aesthetic Preferences: Personal preferences and design considerations can also play a role in determining the desired trim size.
General Guidelines:
- For most standard-sized acoustic panels, a trim width of 1-2 inches is often sufficient.
- If you prefer a more substantial look, you may consider a trim width of 3-4 inches.
- For custom-sized panels or unique designs, it’s best to consult with a professional installer or interior designer to determine the appropriate trim size.
It’s important to consider the overall aesthetic of your space when selecting the trim size. A well-chosen trim can enhance the appearance of your acoustic panels and create a cohesive and visually appealing ceiling.
How do you trim acoustic panels?
Trimming acoustic panels is a relatively easy process that can be done with a few simple tools. Here’s a step-by-step guide on how to trim acoustic panels:
Materials you’ll need:
- Measuring tape
- Pencil
- Sharp utility knife or scissors
- Optional: Woodworking tools (if adding custom trim)
Steps:
- Measure and mark the desired trim area: Use a measuring tape to determine the length of trim needed for each panel. Mark the desired trim locations on the panels with a pencil.
- Cut the trim: Using a sharp utility knife or scissors, carefully cut the trim to the desired length. If you’re using wood trim, you may need to use woodworking tools for more precise cuts.
- Position the trim: Place the trim on the edge of the acoustic panel, ensuring it is aligned and level.
- Secure the trim: Depending on the type of trim and installation method, you may use adhesive, screws, or nails to secure the trim in place.
- Repeat for all panels: Repeat steps 3 and 4 for the remaining acoustic panels.
Additional tips:
- If you’re working with large panels, it may be helpful to cut the trim into smaller sections for easier handling.
- Ensure the trim is securely attached to the panels to prevent it from coming loose over time.
- Take your time and measure carefully to ensure a clean and professional finish.
By following these simple steps, you can create a professional and finished look for your acoustic panel installation.
What are benefits of acoustic panel trims?
Acoustic panel trims offer a variety of benefits, including:
Aesthetic benefits:
- Improved appearance: Acoustic panel trims can enhance the overall look of acoustic panels, making them more visually appealing and complementing the interior design of a space.
- Customizable options: Trims are available in various styles, colors, and materials, allowing for customization to match different preferences and aesthetics.
Functional benefits:
- Edge protection: Trims protect the edges of acoustic panels from damage, ensuring a longer lifespan and maintaining their appearance.
- Installation concealment: Trims can hide the fasteners or clips used to secure acoustic panels to the ceiling or walls, creating a cleaner and more finished look.
- Sound absorption: Some trims, especially those made of sound-absorbing materials, can contribute to overall noise reduction in a space.
Acoustic panel trims provide a versatile and practical solution for enhancing the appearance and performance of acoustic panels.
